 |
| Just a smidgen of what they have on offer!
I was very restrained and only bought one piece, which is the barkcloth-weight leaves in the picture below, bottom right:
|
The rest was picked up in the surrounding shops, and there were so many more than expected:
Most of them are earmarked for shirts for Mr Needles, would you believe, but I managed to sneak in one more for myself, the little garden peas print cotton. It was sitting unloved on a pavement at the bargain price of only $2 per yard (had to go back to Imperial for this visit; metric never really did take off in the US), so I felt sorry for it and bought a couple of yards.
At first I saw it as a blouse - it seemed like too much pattern for a dress - but this beauty had been playing on my mind:
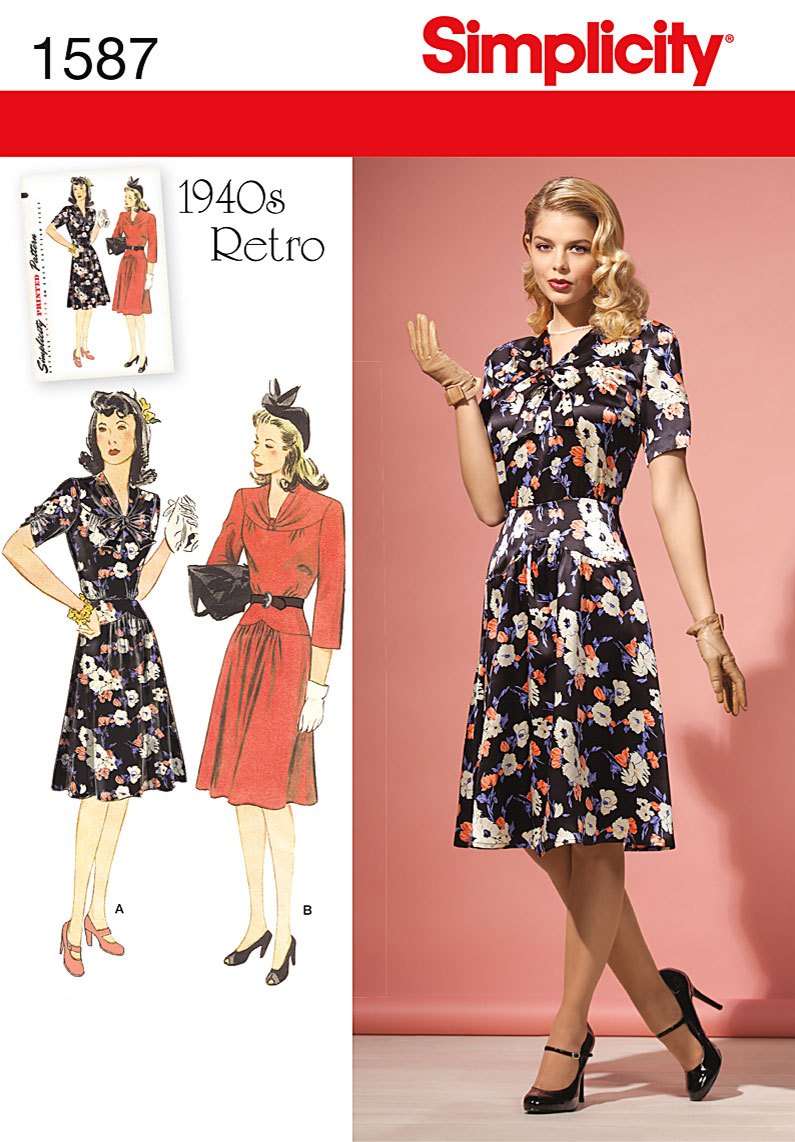
This was part of my prize from Vintage Pattern Pledge for 2015, run by Kerry at Kestrel Makes and Marie at a Stitching Odyssey. It seems apt to use the pattern won from 2015's pledge as part of 2016's pledge, so I went for it!
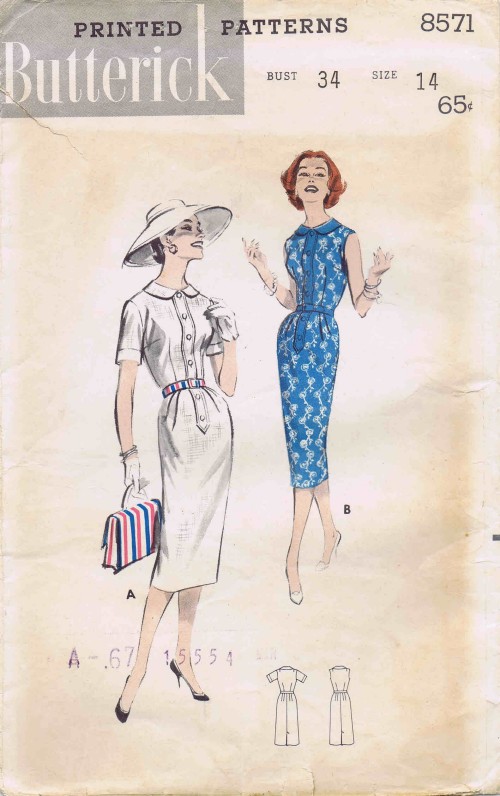
Just one hitch - buying without a specific project in mind had backfired, and 2 yards wasn't going to be enough to accommodate the flared skirt. Solution - use a straight skirt from another favourite pattern, Butterick 8571:
I've used this pattern twice before, once as illustrated here, and once just as the skirt here and it worked out fine both times.
I had planned to take some pretty photos in my garden, doing some gentle weeding or something, but the recent gales we experienced here in the UK have turned my neglected garden into a bit of a mess. But I carried on regardless - here's the new dress in action:
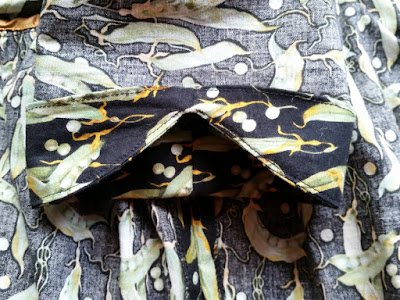
I don't think the change in skirt makes too much difference - it still looks 40'ish. besides the skirt, I also had to adapt the sleeves to a shorter length in order to fit them in. But I gave them a little scalloped detail just as a reference to the original ruched shape:
 |
| Inside of sleeve with facing |
The neckline is the main feature on this dress, being made up of 2 draped and pleated panels which then attach at the centre front and are covered with a little tab:
 |
| Before attachment to the bodice... |
 |
| ...and after |
The hem was also finished with matching bias strips:
I rarely line a dress fully - I get too hot! - and this was no exception. I used a gold poly to line the skirt, which you can see at the kick pleat at the back:
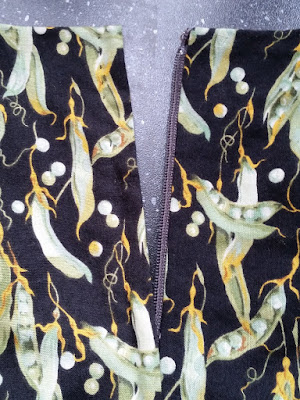
And finally it all gets closed up with a zip at the centre back, which is again a necessary departure from the pattern which saved fabric. But I did stay old-school and put the zip in by hand, with a little hook and eye at the top:
And that's pretty much it. I'm off to learn how to drive this thing!
See you soon!


