Saturday 26 July 2014

Summertime Shift

It's scorchingly hot here in London at the moment, and I'm terrible at dealing with it. All of my clothes feel too heavy and restrictive. This weather calls for something light and less fitted, something like this:

Vogue 7372, 1960's.
I love how the girl in the beret looks impatient, like she's thinking 'Hurry up , b****es, I've got my driving gloves on so I can drive to Paris in my E-type and steal a painting with Peter O'Toole'

The envelope drawings look pretty structured, and the instructions recommend it to be underlined for stability, but I decided to skip this or it would have been too heavy. 

And here it is:


I used a navy cotton I picked up on a recent diversion to Abakhan's with Katie of What Katie Sews. It's super light without being see-through, and is even a little stretchy on the weft. Best of all, it's sprinkled all over with little apples:


The dress appears pretty straightforward, but being a Vogue Pattern, and therefore aiming to emulate high-end designers, there's more to it than your average shift. Where other dresses would have stuck with a couple of darts here and there, this dress has princess seams front and back, pockets in the seams, tiny little bust darts, and a side zip. There's also a tricky button placket which was a pain to do, but I got there in the end:


And I love the apples so much I even made covered buttons emblazoned with them:

From this...

...to this!
I cut the pattern as is, without any adjustments - the fit seems fine:

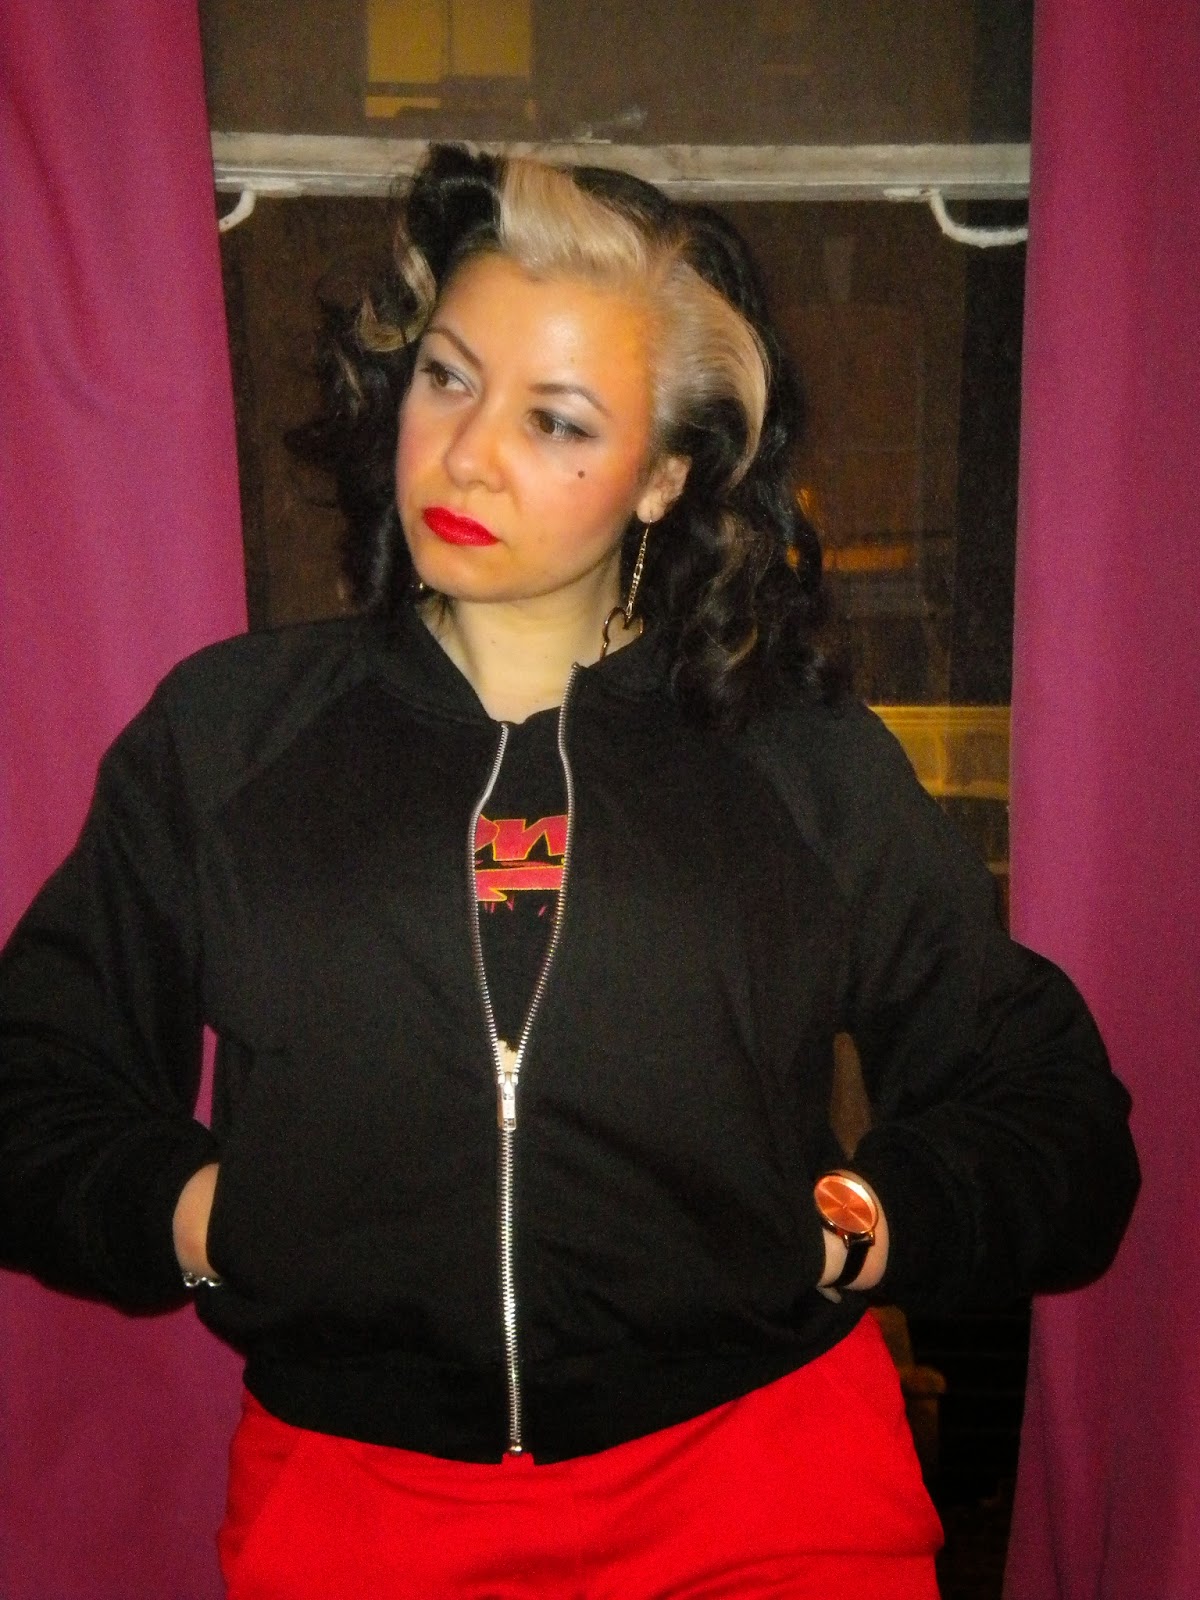
This is me doing a 60's model pose
A few construction details-

French seams are my preferred method for finishing seams, but that was never going to work with the curves of these princess seams. Instead, I stitched them as plain seams, finished them with a 3-step zig-zag, then top stitched them close to the seam so they would lie flat:

Inside view of seams

Top stitching detail, with a bar tack at the base of the pocket.
It was a bit of a squeeze fitting the whole dress into the fabric I had - I bought it without knowing I was making this dress - so I had to save space by making half of the pocket with some scraps of red lining fabric:

Pocket detail


And finally the hems - I turned under the raw edge about 4 mm, machined this, then attached the hem to the body of the dress with a catch stitch:


And that's pretty much it!


Have fun in the sun, and see you soon!


Thursday 10 July 2014

Minerva Bloggers Network - Burda 7210 Bomber Jacket

Hello! This month's Minerva project is yet another jacket (I think this is my 3rd - there seems to be a pattern developing......) I'm a bit late with the bomber jacket trend, but that's what I decided to tackle this month, with the help of this Burda pattern:

Burda 7210 - I made version A
Before I started this project, I spent ages and ages measuring and thinking and observing and comparing, and it definitely paid off. The picture on the packet I felt looked a bit baggy and masculine, which I didn't want. I measured side seams on the body and the arms, as well as the bust and compared it to some jackets I already had. This paid off in that I ended up cutting a size 38, which is 2 sizes smaller than the size recommended on the packet, and it fit just fine. I also shortened the body and the sleeves by 1 1/2", using the 'shorten/lengthen here' lines:

A bodice and sleeve pattern shortened along the 'shorten here' line - I think this is the first time I've ever used this line!
And here's the result:


I used a lovely stretch cotton sateen from Minerva, which makes the jacket just that little bit dressier than a plain cotton drill. It's much shorter and neater fitting than the original, which is what I was aiming for. 

Even though it appears to be a pretty simple little jacket, I tackled several new techniques in this project which I had previously been uncomfortable with. First up - WELT POCKETS!!!!

Welt pocket win!
I consider myself a pretty good sewist, but I've always had an irrational fear of cutting into the middle of an expanse of fabric, and so I've always avoided welt pockets, bound button holes, exposed zips, etc. But I got over that fear recently with some exposed zip success, and decided welt pockets would be the next logical step. I did some practice runs, some of which went horribly wrong - wrong side out, upside down, and so on. But I eventually got there and then completed the pocket you see above. And what's more, these aren't even part of the original pattern - you're meant to have zipped pockets, but I felt welt pockets were more attractive.

Next, ribbing:
Cuff ribbing
Neck ribbing
I've never used this ready made ribbing from Prym - it's great! For the waistband piece, I just cut the length supplied in half, and there was a pattern for the neck shape so you get that slopey, angled neck shape you see on all bomber jackets.

And of course, here's the bit where I added loads of extra steps and made life difficult for myself. The pattern doesn't call for lining, but that was never going to do for me! Using the neck area of the original jacket pattern, I drafted my own jacket facings, which looked like this:

Front facing (left) and back facing (right)
For the body of the lining I used a rose coloured polyester, and it all looked like this:


I'm pleased with the result, but figuring out how to put it all together gave me a massive headache. I finally worked out that you had to sew the sleeves together at the cuff in a weird tube format, then the waist and neck, and finally pull it all through and sew in the zip. It all looked an absolute mess and I was convinced it wouldn't work, so photos were the last thing on my mind - you'll have to take my word for it!


And that's it! If you like anything you see, be sure to stop by Minerva and check it all out.

See you soon!