Showing posts with label Minerva bloggers network. Show all posts

Wednesday, 22 April 2015

Minerva Bloggers Network - Butterick 5298 and the Tartan Challenge

It may be spring, but there are still some chilly days - going jacket less still isn't quite a possibility. That's why I decided to make Butterick 5298 to wear on these in-between days.


As you can see, it's a re-print from Butterick's archives of a swing jacket from 1946, I loved it the moment I saw it - the wide shoulders, the deep cuffs and wide sleeves - what's not to love? And I love anything swingy and swishy. I also wanted to re-create a dressy looking Pendleton-type jacket, with a more feminine look to it.

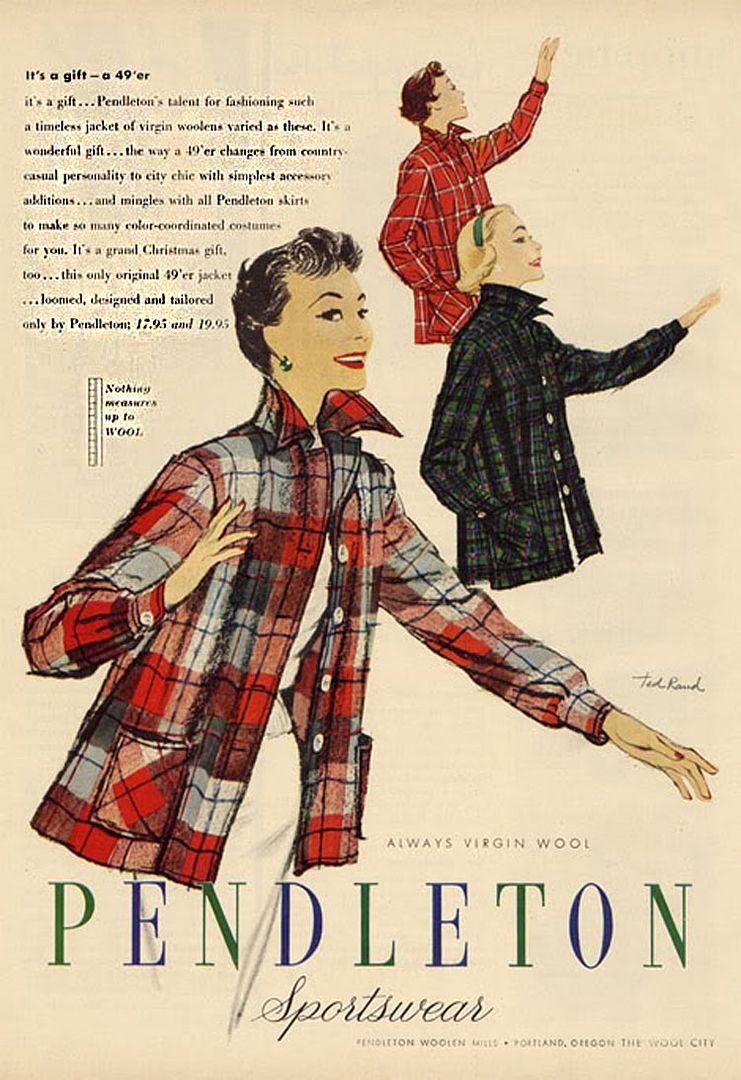
Source - Vintage Vixen
As for fabric, I loved the working with the fabric I used on a previous Minerva project of mine, my Christmas tartan skirt, and it's the perfect look and weight for what I was trying to achieve. And despite being warm and soft like wool, it's actually a clever mix of polyester, acrylic, and rayon, so there's none of the scratchiness that comes with wool.


I actually had a fair bit left over from the skirt (I'm terrible at estimating fabric quantities...) so I only needed a little bit more to complete the jacket, which luckily was still in stock at Minerva.

And it turned out I had just enough! It took 3 evenings of crawling around on the living room floor to get this monster cut out, and I used pretty much every scrap:

This was all that was left...

More than anything, it was tiring cutting this out because of all the decisions that had to be made regarding what would match and what wouldn't. I wanted to match the obvious, such as the centre front and back:

Centre front and yoke matching at the neckline. I marked the centre front with a yellow tacking stitch to help

I also wanted to match the front and back yoke to it's respective pieces. But when it came to side seams and cuffs - forget it! Side seams were left to do what they wanted, and with the cuffs I was sneaky and cut them on the bias, so no matching needed!
Cuff detail

As is always the way with me, I put more work than was probably necessary into the insides of the jacket. I didn't want to use stiff, glue-y interfacings that would affect the drape of the cloth, so I opted for sew in hair canvas. I cut all the pieces - yoke front and back, front facing, cuffs - with the seam allowances removed so there would be no bulk in the seams. Then it was all attached to the pieces using herringbone stitch:

Back yoke with interfacing stitched in place
I also cut long strips of bias and placed them in the sizable hem to add a nice weight:

Bias strips stitched in place, and then hem attached to it
Enough of the detail - here it is!:


And it has pockets!:

Side seam pockets


The collar grows out of the yoke, then fastens with a single button. This was meant to be a bound buttonhole, but I couldn't be bothered, so I sewed a snap on under a button from my stash. 


Despite being loose and swingy, the shoulders of the jacket are very fitted and sit quite snugly, so the jacket sits firmly in place. This is partly down to the curved seams at the shoulders, which round shoulder pads are stitched to:


Pressing the shoulder seams open 


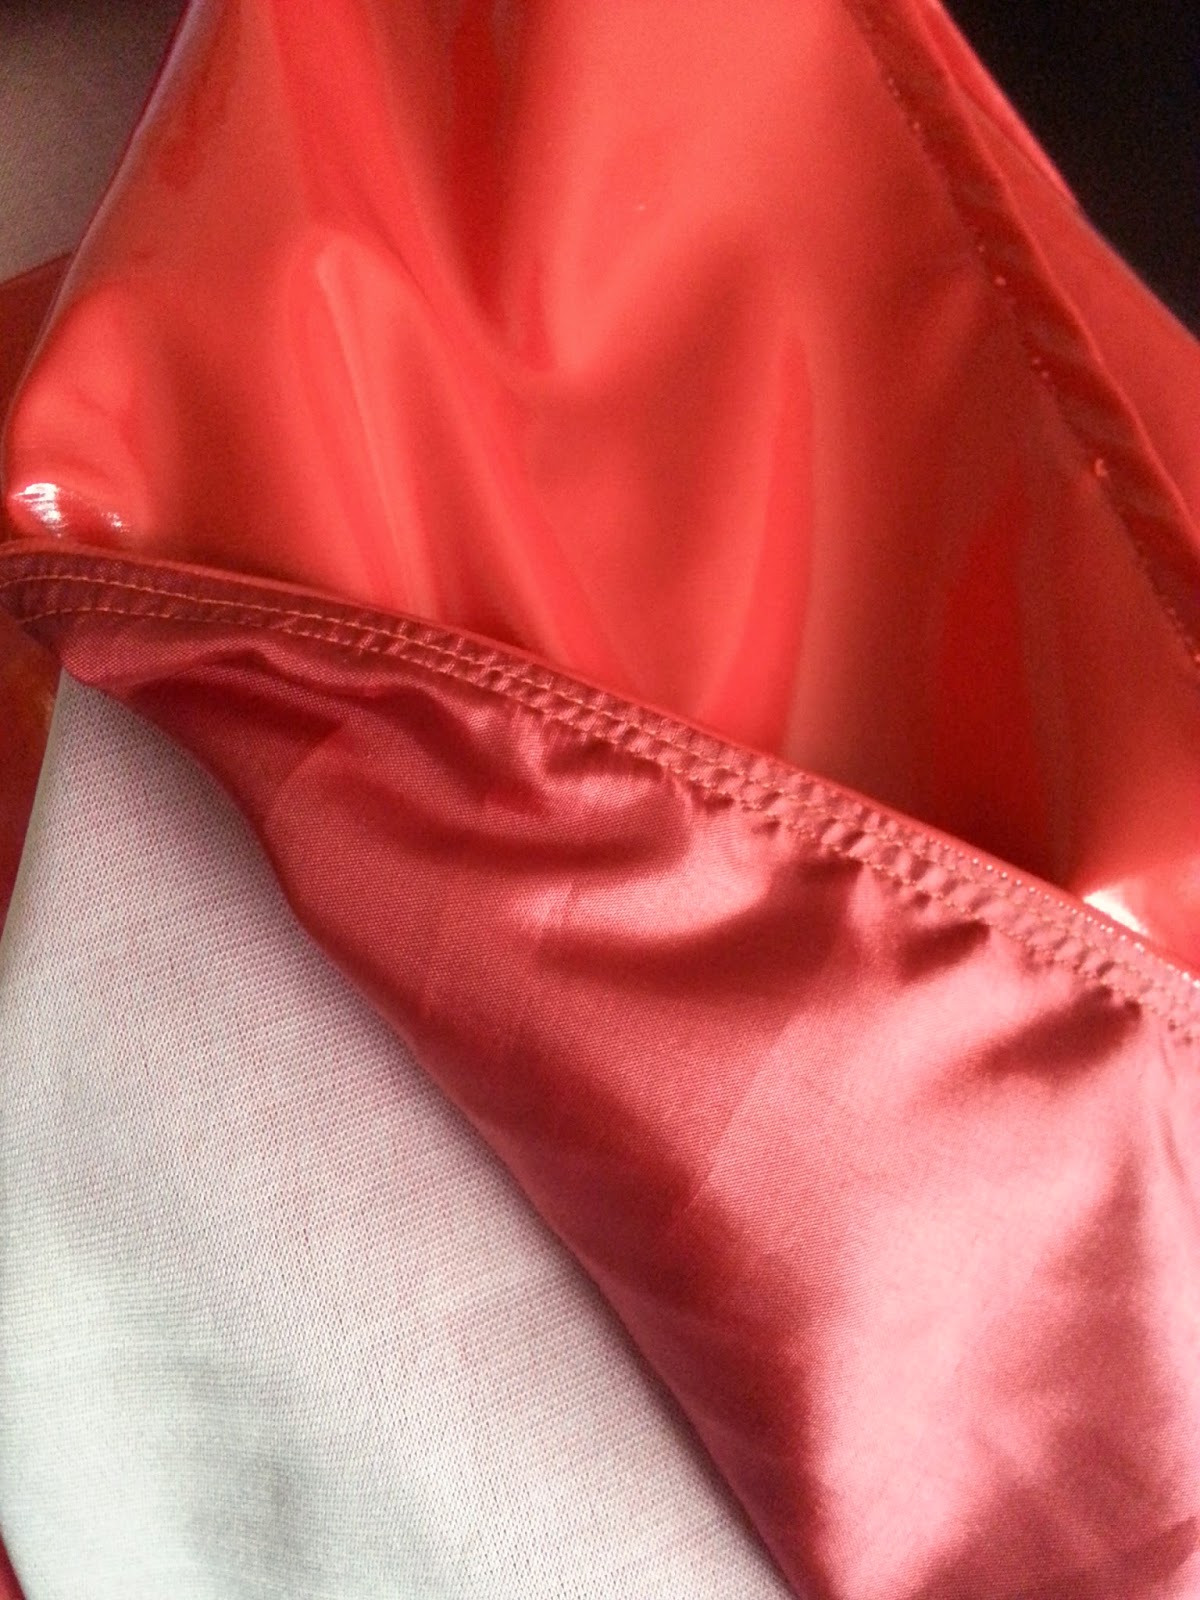
It's all lined with a bright red polyester, which was sewn in by machine, but then attached at the hem by hand. 

And that's pretty much it! If you like the look of the fabric, head over to Minerva and check it out.

See you soon!

Thursday, 12 March 2015

Minerva Bloggers Network - Trousers - 1, Waistcoat - 0

As you've probably worked out from the title, for this month's Minerva Blogger Network Project, I had some success and some failure. I decided on a waistcoat and trouser outfit, inspired by this photo of David Bowie, circa 1976:


David Bowie during his Thin White Duke phase, 1976
I started with the trousers, which were copied from an old pair I already had. I purchased these Claudie Pierlot trousers over 10 years ago, and rediscovered them recently when I was having a big wardrobe clearout:


It's hard to see details in the photos (so hard to photograph black!), but they're flat fronted, mid rise, wide legged trousers with a curved waistband. There are pockets in the side seams, as well as one on the left back. There are also little details like this overlapped waistband closure:


The trousers themselves are a bit worn out, with the fabric a bit shiny in places. They're also a bit tight around my backside. So unlike my previous Libertine coat copy, I had no qualms with picking these trousers apart and using them as my pattern, which you'll see below:


The unpicked trousers - from top: pocket pieces, left and right waistband,trousers front and back

This bit was relatively easy - I just added 5/8"/1.5 cm to each seam as well as an extra 1/4"/5 mm to the centre back, then cut the pieces out. I copied the dart from the back onto my new pieces, and stuck with the 2 1/2" hem from the original. I used a cotton sateen with 3% spandex from Minerva which was just perfect for the occasion - it irons well and doesn't fray too much.

These trousers were a great learning experience for me because it's the first time I've used an overlocker to finish seams on a tailored garment, as you can see below:


It all felt a bit upside down to me - I had to overlock many of the pieces before constructing the garment, and so had to re-think the order in which I would normally work. But on the whole I'm happy with the way it worked out. And I'm actually starting to really enjoy using the overlocker; the straight stitch machine feels so slow in comparison!

Here's the finished product:


I changed the original welt pocket on the back to a false pocket flap:


And without focusing on my bottom for too long, I think the combination of the stretch fabric and the extra seam allowance on the back seam has resulted in a pretty good fit!


And I love the width of the leg, as well as the side seam pockets:


Side seam pockets
One thing I added that's not in the original pair of trousers was a half lining to the back pieces. I always think this helps prolong the life of the garment, and prevent bagging in the seat area.


Inside view of the half lining
So where's the waistcoat? Well, that was a total fail. Instead of resembling the Thin White Duke, I looked more like this:


Wendy Jans, professional snooker player
Incidentally, if you Google 'female snooker players' you get a stupid amount of shots of women leaning over snooker tables showing acres of cleavage. This was virtually the only one where the subject was covered up.

I used this pattern, graded up to my measurements:


McCall's 9722, circa 1954
I thought this was the right amount of tailoring, but with enough feminine fit not to look too 'Annie Hall'. But I messed around with the fit for days, and eventually gave up. This is the only picture I took:


As you can see, it's not fitted enough through the bust and waist. The back piece and the arms/shoulders are fine, but I just got bored with it. I've redrafted the pattern, and I think I have just enough fabric left to make another one, so watch this space. I will not let it defeat me!

See you soon!

Thursday, 12 February 2015

Minerva Bloggers Network - Red Vinyl Valentine

For this months Minerva bloggers project, I've been hanging out with these ladies:


Simplicity 8412, from 1969 - I think the condition would be described as 'well loved'.

I made the coat in this pattern once before in the 90's. That time I used a black plastic-y snake effect PVC. I remember it wasn't totally successful, probably because the fabric was too flimsy for the style. I think I turned it into a shorter zip up jacket, then who knows where it ended up!. At least I don't have it any longer.

And did I learn my lesson about unsuitable fabric? Of course not!I found myself being drawn to shiny plastic yet again, this time in the form of red PVC from Minerva. This is much heavier, a more suitable coat weight. In fact, it reminds me of the stuff you see on outdoor cafe tables - sturdy and weatherproof!

And is it shiny! Here it is in full effect, gleaming in the night:


I'd never sewn with this sort of material before and realised through a number of test swatches (and mistakes)that there are several things you can't do:


  • no pinning - it leaves holes
  • no ironing, unless you want a sticky mess
  • no mistakes that involve unpicking - again, holes, etc
  • you can't ease in larger pieces to smaller pieces - this fabric just doesn't like it, making sleeve heads a pain! But you can stretch a smaller piece to fit a larger piece, to some extent.
One of the many holding techniques I used! Sellotape was also employed.


This fabric tests all of your fabric handling powers. It was a bit like sewing a big, thick, unruly plastic bag, or a tyre inner tube. It sticks to itself when you don't want it to, and sticks to the presser foot. I found out too late that a walking foot was needed for this project, but as my machine is old and no equivalent is made today, it's hard to find the right one. Instead, I employed a low-tech solution for top stitching - tissue paper:


I laid it on top of the seam, sewed through all the layers, then tore it away. And I used a lot of tissue for this coat because there was a lot of top stitching. As is the way with old patterns, there's little in the way of advice on seam finishes. The nature of the fabric is such that seams don't lie naturally flat. Ironing is out of the question, so I trimmed one side of the seam away on the wrong side, folded the other side over flat, and stitched through all the layers, using a top stitching thread.


I also stitched down the darts at the back neck and on the sleeve:


Close up of neck darts
Other than the hem, I didn't finish the seams at all because the fabric doesn't fray one bit!


Inside of the coat - no overlocking, pinking, zig zagging, etc, because there was just no need

I did finish the hem with some lovely satin bias tape for no other reason than it looked nice.


Coat hem
Because the coat is essentially a big plastic bag and therefore was going to be a bit - ahem - sweaty, lining was out of the question. For added 'ventilation', I made a sort of cotton dress shield (kids, ask your grannies...) from some scraps:


I attached this with the sleeve seam to the inside of the body of the coat, then applied 2 eyelets through all layers under each arm:


Eyelets inside...
...and on the outside
With no ironing allowed, that meant no interfacing. But I wanted to add some body and weight to the collar and front facings. Solution: a layer of lining inside the front facings, neck facings, and collar:


Inside the front facing
For the moment, I haven't used any closures because basically I can't decide what to use. Until I do, the belt will suffice:


I really, REALLY wanted to get some photos of the coat in the rain, but it's been pretty dry here in London recently. But for the sake of research, I found a way to test it's properties and can confirm they are up to standard:


And it was a complete fluke that this coincided with Valentines!


See you soon!