I've never found the right receptacle for my sewing pins - it's always something too fiddly, or it doesn't withstand repeated use
and breaks easily. I currently keep most of my pins in a cigarette tin I found in a field at a festival - it works, but isn't very glamourous.
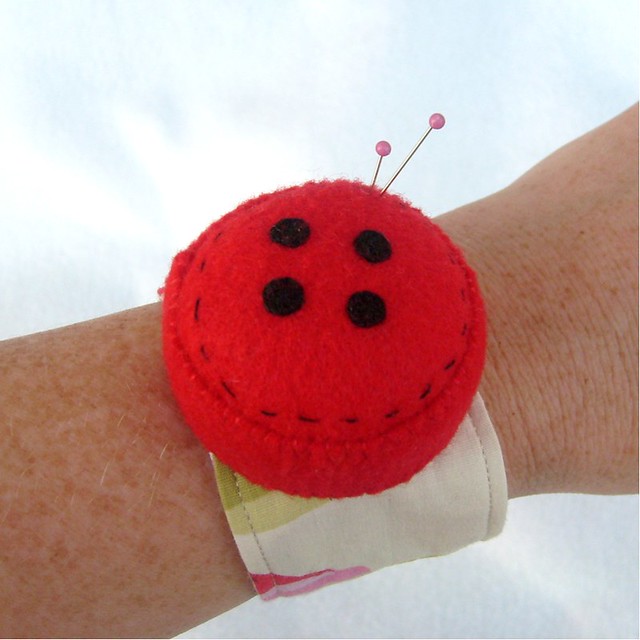
In the spirit of Katie's Stash Busting project, I decided to make a wrist pincushion out of scraps and bits 'n pieces in my ever expanding pile of stuff that 'will come in handy one day'.
First, I cast around on the internet for some ideas. Some were a bit cumbersome (and weird...)
Some were just too cute to stick pins in:
And some were really lovely:
Armed with these ideas, I hunted around the house for materials. I looked in the recycling for some card to make a base out of, and found this tights packet I'd just thrown out:
 |
| I know - Wolford...the recycling in Dalston is so fancy! |
|
|
I traced around the base of a mug for my template, later to be used as the base of the cushion:
I cut this out, and trimmed it a bit smaller so it fit my wrist:
Now for the fabric. I figured I'd need to use 2 layers, for strength, so decided on some black cotton under some old scraps of Alexander Henry 'Day of the Dead' cotton. I traced around the card template, then added some extra for seam allowance, 2 in black and 2 in pattern fabric:
Then I cut a section away from each one to make a half-moon shape, and stitched one black piece to a patterned piece face to face:
Then turned this right side out:
- And then back on itself, wrong sides together. Slap the other 2 halves together, wrong sides together, but don't stitch them. Then lap the neatened half over the raw edge, leaving an opening, and pin and set to one side:
Now for the cushiony bit!
Using the template, I cut 1 circle of black and 1 circle of pattern, adding 1 1/2 inches/4 cm all the way around:
The 2 circles will now need gathering up, wrong sides together, so that they can fit onto the base. I used a loose running stitch all the way around, with a knot in one end only and a long tail:
With the long tail, pull the thread tight so the circle gathers up. Check the size against the base; when you think it's about the right size, tie a knot in the tail and pin the gathered piece to the base, right sides facing:
 |
| It doesn't look like much now, but be patient... |
|
|
With a tight running stitch, attach the gathered piece to the base:
Trim the seam, then turn right side out, through the opening in the base. Now the fun bit - shove loads of stuffing in through the opening in the base:
I used some old stuffing I had left over from my
knitted Slash project, but you could use old tights, bits of old cloth, etc.
Once you're happy with your cushion, you can squeeze the card template back in to give the base some rigidity. Then, sew it closed:
The final bit - I had a piece of thick elastic which I measured against my wrist, plus a little extra for seam allowance. This was stitched onto the back nice and tightly:
And now the finished product:
Can't wait to use it!
