
 |
| Simplicity 8412, from 1969 - I think the condition would be described as 'well loved'. |
And did I learn my lesson about unsuitable fabric? Of course not!I found myself being drawn to shiny plastic yet again, this time in the form of red PVC from Minerva. This is much heavier, a more suitable coat weight. In fact, it reminds me of the stuff you see on outdoor cafe tables - sturdy and weatherproof!
And is it shiny! Here it is in full effect, gleaming in the night:


I'd never sewn with this sort of material before and realised through a number of test swatches (and mistakes)that there are several things you can't do:
- no pinning - it leaves holes
- no ironing, unless you want a sticky mess
- no mistakes that involve unpicking - again, holes, etc
- you can't ease in larger pieces to smaller pieces - this fabric just doesn't like it, making sleeve heads a pain! But you can stretch a smaller piece to fit a larger piece, to some extent.
 |
| One of the many holding techniques I used! Sellotape was also employed. |


This fabric tests all of your fabric handling powers. It was a bit like sewing a big, thick, unruly plastic bag, or a tyre inner tube. It sticks to itself when you don't want it to, and sticks to the presser foot. I found out too late that a walking foot was needed for this project, but as my machine is old and no equivalent is made today, it's hard to find the right one. Instead, I employed a low-tech solution for top stitching - tissue paper:

I laid it on top of the seam, sewed through all the layers, then tore it away. And I used a lot of tissue for this coat because there was a lot of top stitching. As is the way with old patterns, there's little in the way of advice on seam finishes. The nature of the fabric is such that seams don't lie naturally flat. Ironing is out of the question, so I trimmed one side of the seam away on the wrong side, folded the other side over flat, and stitched through all the layers, using a top stitching thread.

I also stitched down the darts at the back neck and on the sleeve:
 |
| Close up of neck darts |
 |
| Inside of the coat - no overlocking, pinking, zig zagging, etc, because there was just no need |
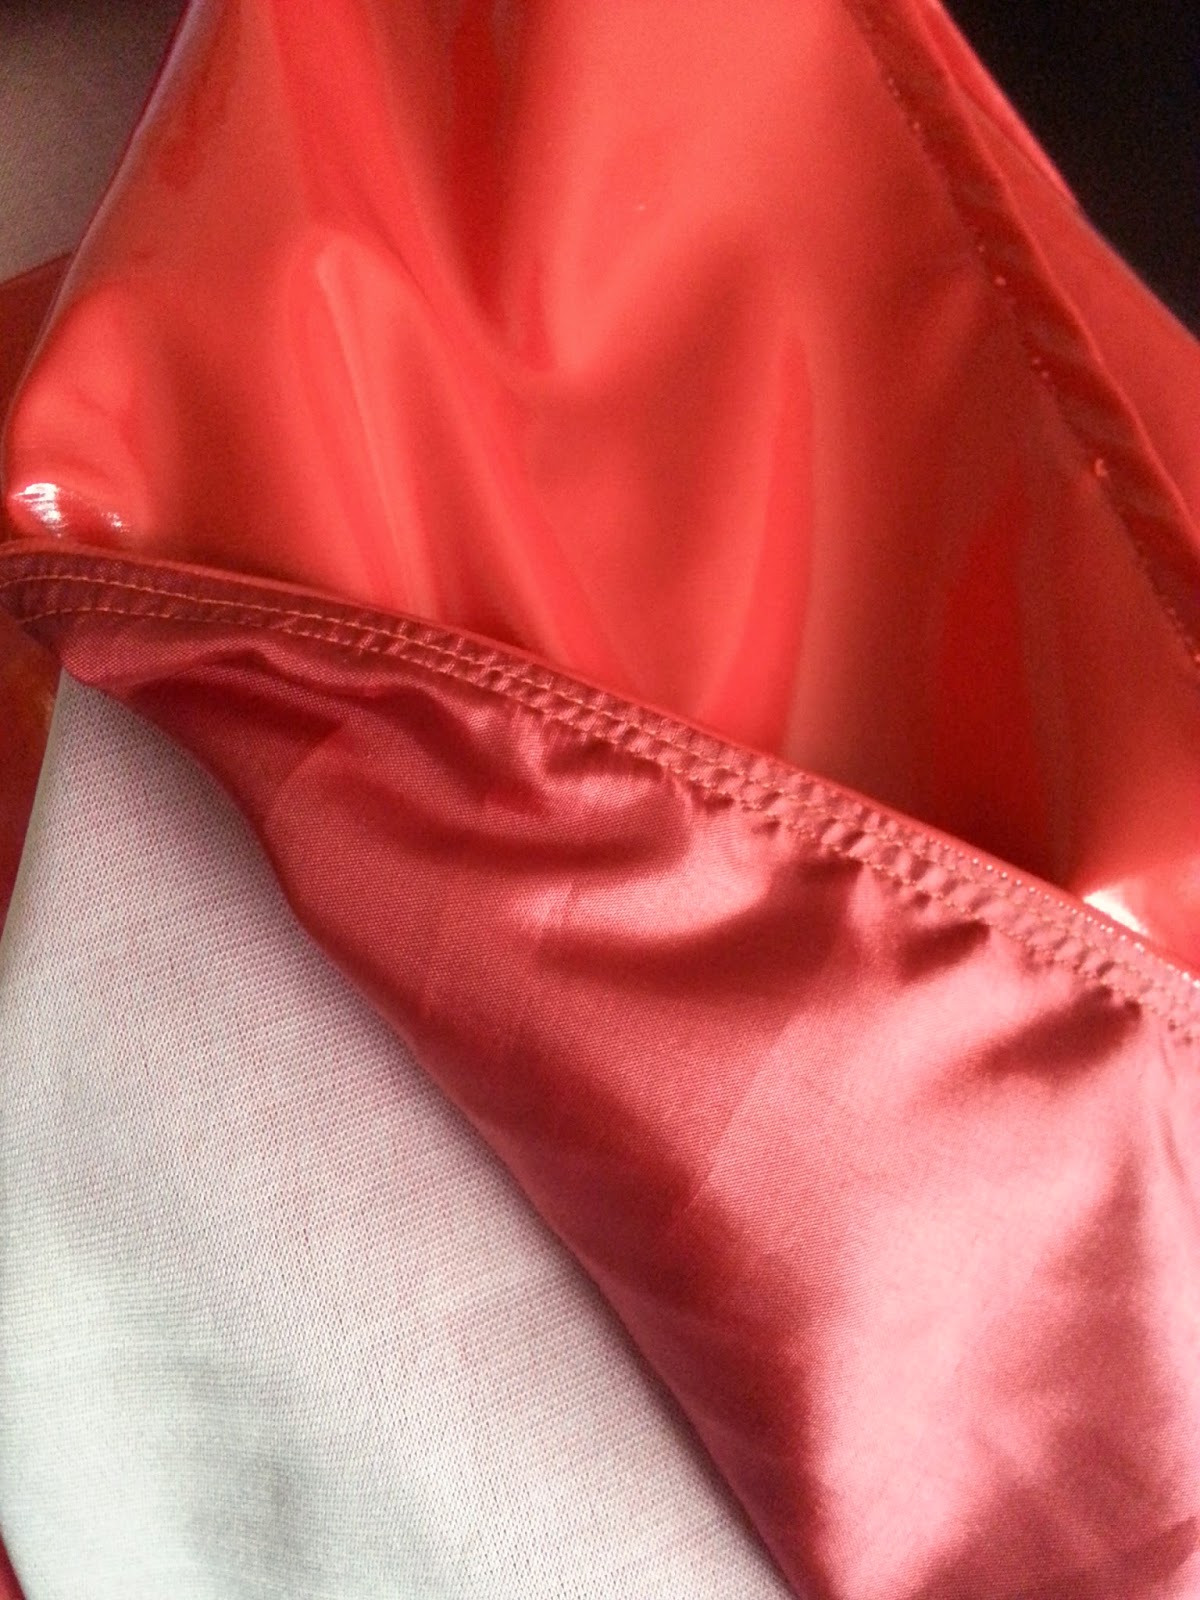
I did finish the hem with some lovely satin bias tape for no other reason than it looked nice.
 |
| Coat hem |

I attached this with the sleeve seam to the inside of the body of the coat, then applied 2 eyelets through all layers under each arm:
 |
| Eyelets inside... |
 |
| ...and on the outside |
 |
| Inside the front facing |

I really, REALLY wanted to get some photos of the coat in the rain, but it's been pretty dry here in London recently. But for the sake of research, I found a way to test it's properties and can confirm they are up to standard:

And it was a complete fluke that this coincided with Valentines!

See you soon!
You've nailed every aspect of this coat. Great colour. Good vent idea. It's fabulous.
ReplyDeleteThis is awesome Nicole and you wear it so well! Well done for being so patient with that tricky fabric, I would have ended up throwing it in a corner!
ReplyDeleteLove it. It's amazing! Who knew you wouldn't be able to find rain in London in February?
ReplyDeleteI so remember raincoats like this- and they often had a matching hat! You've absolutely nailed the look, the fabric choice is perfection. I don't think you need to add fastenings, it looks so brilliant belted like that. Glad you managed to test it so brilliantly!!
ReplyDeleteA matching hat - why didn't I think of that?!? If I find the time and I have enough scraps I might actually make one.
ReplyDeleteYou are totally rockin' that coat Nicole! Sounds like it was a nightmare to sew but so worth it - it looks fabulous!
ReplyDeleteI really love this, being a fan of PVC! Hopefully your coat won't degrade as fast as my PVC mini skirt did...
ReplyDeleteHaha love your shower testing! This looks so amazing! Sounds like a lot of hard work, and patience, but it was definitely worth it!
ReplyDeleteLove this! It sounds like a nightmare to sew with but the results are fab.
ReplyDeletePlease tell me how to stich Chinese collar
ReplyDeleteIt looks fantastic, I love belt closure and the shower shot!
ReplyDeleteNicole! You're amazing... all those details. I love the shine! I love it all.... but yes, Winnie is right. A hat is definitely necessary hehe x
ReplyDelete