Showing posts with label Burda 7210. Show all posts

Saturday, 14 May 2016

Matchy Matchy - Flamingo Blouse and Jacket

Hello! Today I'm delving into the 1930's and the 1990's by way of patterns, mixing them all up, and linking them together with the magic of fabric. 

I made a version of the long sleeved blouse below about 20 years ago, before I really understood about altering a pattern correctly to fit:


I remember I added extra width to the front and back, but the armholes and neck were all wrong - I wore it anyway. It didn't really work; I wore it a few times before I gave up on it and just resolved this pattern wasn't for me.

Now I know better - I know how to grade a pattern up to the correct size, and then adjust it for my specific figure. And now I know it's wise to make a muslin/toile, something I never used to do. I was too impatient, and I just thought it was just a waste of fabric.

Out came the rulers and the tracing paper and I traced and slashed and adjusted until I had something that looked right. This was fairly involved, and I'll probably cover it in another blog post. I made a toile out of some old curtains that were in our house when we moved in:
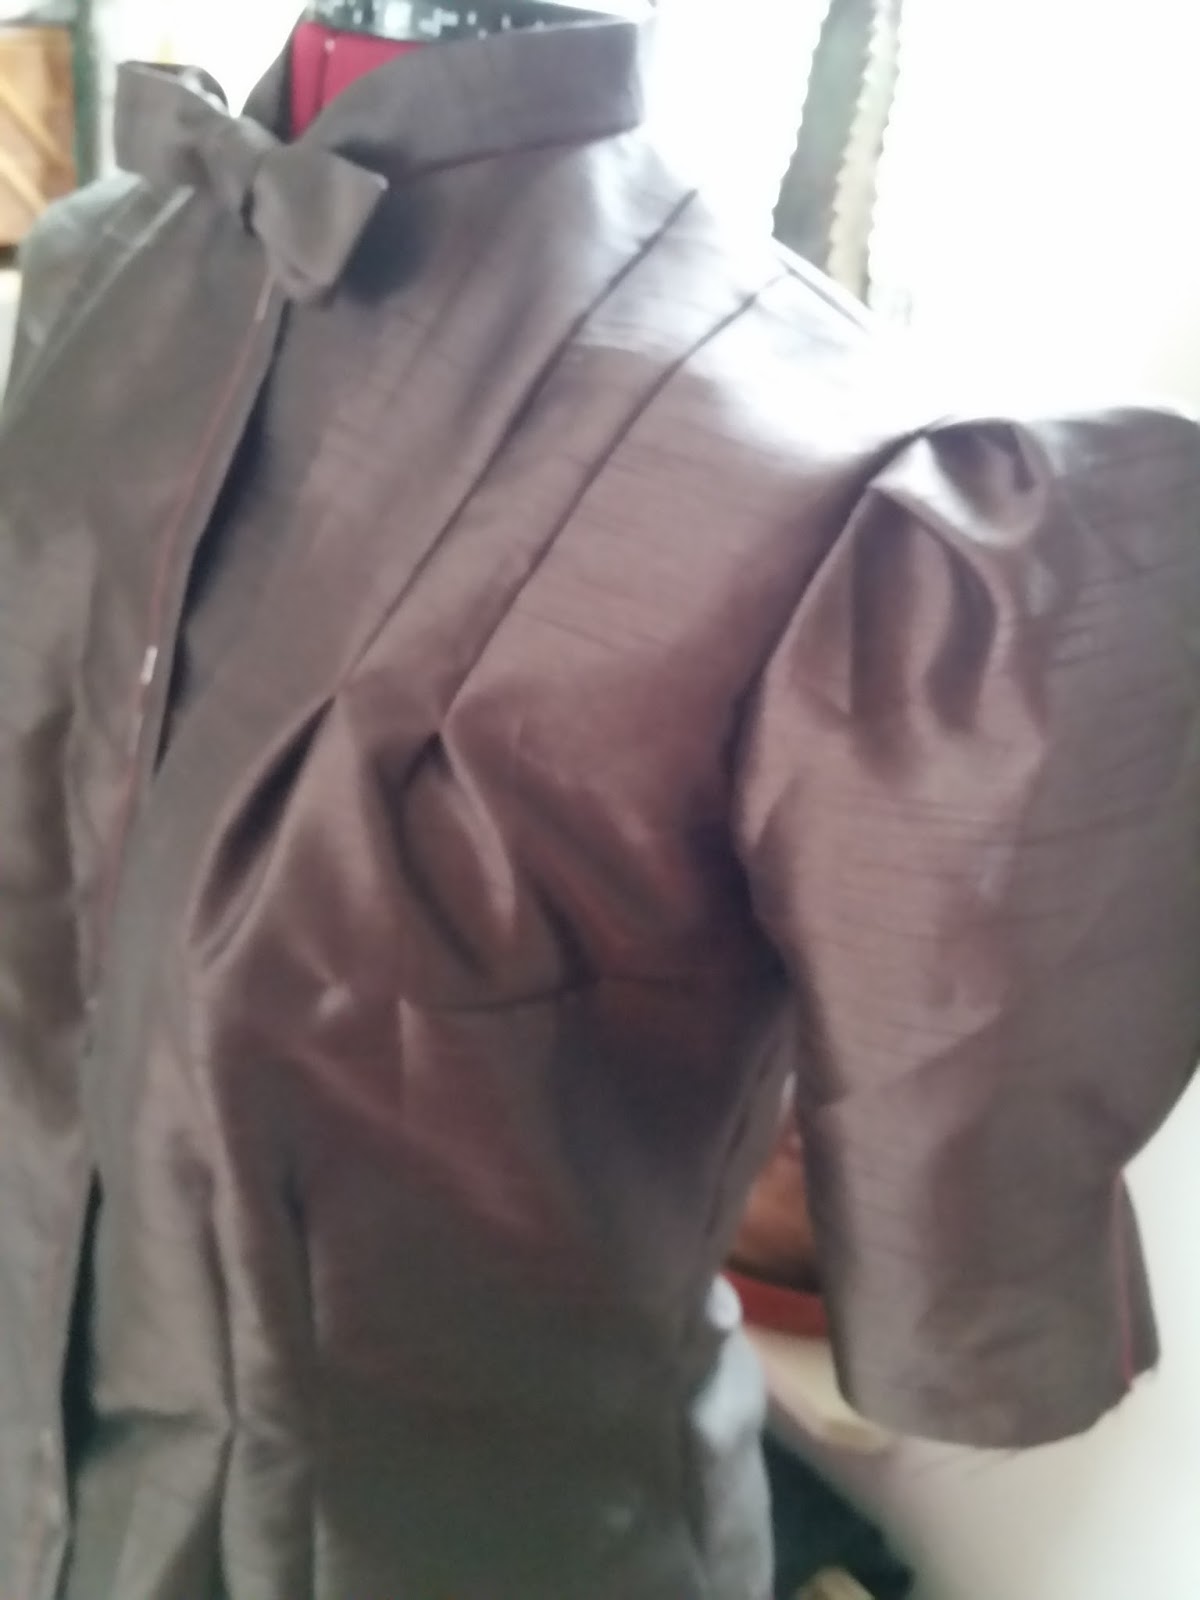


It came out surprisingly well - the fit was pretty good, and just a few minor adjustments were needed, like a wider front facing allowance and so on. 

Now for the fabric, which was this beauty below:


I picked this fabric up from Hamid's on Ridley Road Market in Dalston, for the lovely price of £1 per metre. You'll notice that the flamingos are at a right angle to the selvedge, which I thought was weird; surely you'd want them to run parallel to the selvedge? This meant I had to break all the sewing rules and lay the pattern out on the cross grain - I didn't want sideways flamingos!

I said earlier that I used to find toiles annoying because I'm really impatient - I just want to get to the sewing part and then the wearing part! But the toile was really helpful in that it made the sewing go really quickly - all the fiddly bits had been worked out in the practice run, as it were.

Here it is:


There are some really nice little details on the blouse, like pleats in the sleeve head and the tucks at the shoulder:

Pleats on the sleeve head

Tucks running from the front shoulder to nearly the bust
I didn't really fancy using any of the closure methods on the packet - a zip looked too bulky, and who has time to make all those rouleau loops? I just extended the centre front to create a self-facing band with buttonholes:


Once the blouse was done, I was left with a pretty sizable amount; I suppose cutting it crosswise didn't use as much up? I'm on a mission to reduce my pile of stash fabrics, and I had the perfect use for the rest of it: a jazzy lining for my replacement Burda bomber jacket.


I made version A, but without the unnecessary shoulder/yoke section

I made this jacket once before a couple of summers ago, as detailed here. I absolutely loved this jacket, and wore it non-stop in the milder months - it was the ideal weight for summer evenings. But in a moment of confusion, it was left on a train - the first time I've ever lost a piece of clothing! I did everything I could to get it back, which mostly involved filling out a Transport for London lost property form, but it was not to be. Someone out there has a custom made bomber jacket; I hope they appreciate it!

Anyway - I'd been meaning to replace it for a while. With the weather improving a little, now seemed the right time. And because I had the previous blog post to refer to, I didn't really have to think much this time round. Here's the finished item, made with fabric from the Textile Centre on Walthamstow Market:


I only deviated from my original version in a couple of places. First, I used exposed zips on the front pockets, rather than the welts I used before:


Cheeky flamingos peeking out!

I love exposed zips - so easy, and they look so impressive!

For the second moderation I added a little placket to the front of the jacket, to sit behind the zip. I noticed this piece is usually present on the classic MA-1 bomber jackets and Harrington's, but for some reason is often left off of domestic sewing patterns. I just guess-timated the size and length; I had it stop short of the zip top a few inches, for no reason other than I liked the look of it:


And here's the flamingo lining:


And together with the blouse in all it's flamingo glory:


Again, this has proven to be one of my favourite jackets and I've worn it almost every chance I get. I'm thinking I'll have to make more in other colours, or maybe tackle a satin embroidered version. 

I'm off to ponder all of those possibilities - see you soon!

Thursday, 10 July 2014

Minerva Bloggers Network - Burda 7210 Bomber Jacket

Hello! This month's Minerva project is yet another jacket (I think this is my 3rd - there seems to be a pattern developing......) I'm a bit late with the bomber jacket trend, but that's what I decided to tackle this month, with the help of this Burda pattern:

Burda 7210 - I made version A
Before I started this project, I spent ages and ages measuring and thinking and observing and comparing, and it definitely paid off. The picture on the packet I felt looked a bit baggy and masculine, which I didn't want. I measured side seams on the body and the arms, as well as the bust and compared it to some jackets I already had. This paid off in that I ended up cutting a size 38, which is 2 sizes smaller than the size recommended on the packet, and it fit just fine. I also shortened the body and the sleeves by 1 1/2", using the 'shorten/lengthen here' lines:

A bodice and sleeve pattern shortened along the 'shorten here' line - I think this is the first time I've ever used this line!
And here's the result:


I used a lovely stretch cotton sateen from Minerva, which makes the jacket just that little bit dressier than a plain cotton drill. It's much shorter and neater fitting than the original, which is what I was aiming for. 

Even though it appears to be a pretty simple little jacket, I tackled several new techniques in this project which I had previously been uncomfortable with. First up - WELT POCKETS!!!!

Welt pocket win!
I consider myself a pretty good sewist, but I've always had an irrational fear of cutting into the middle of an expanse of fabric, and so I've always avoided welt pockets, bound button holes, exposed zips, etc. But I got over that fear recently with some exposed zip success, and decided welt pockets would be the next logical step. I did some practice runs, some of which went horribly wrong - wrong side out, upside down, and so on. But I eventually got there and then completed the pocket you see above. And what's more, these aren't even part of the original pattern - you're meant to have zipped pockets, but I felt welt pockets were more attractive.

Next, ribbing:
Cuff ribbing
Neck ribbing
I've never used this ready made ribbing from Prym - it's great! For the waistband piece, I just cut the length supplied in half, and there was a pattern for the neck shape so you get that slopey, angled neck shape you see on all bomber jackets.

And of course, here's the bit where I added loads of extra steps and made life difficult for myself. The pattern doesn't call for lining, but that was never going to do for me! Using the neck area of the original jacket pattern, I drafted my own jacket facings, which looked like this:

Front facing (left) and back facing (right)
For the body of the lining I used a rose coloured polyester, and it all looked like this:


I'm pleased with the result, but figuring out how to put it all together gave me a massive headache. I finally worked out that you had to sew the sleeves together at the cuff in a weird tube format, then the waist and neck, and finally pull it all through and sew in the zip. It all looked an absolute mess and I was convinced it wouldn't work, so photos were the last thing on my mind - you'll have to take my word for it!


And that's it! If you like anything you see, be sure to stop by Minerva and check it all out.

See you soon!