Friday, 21 February 2014

BANG! The Pop Art Pencil Skirt

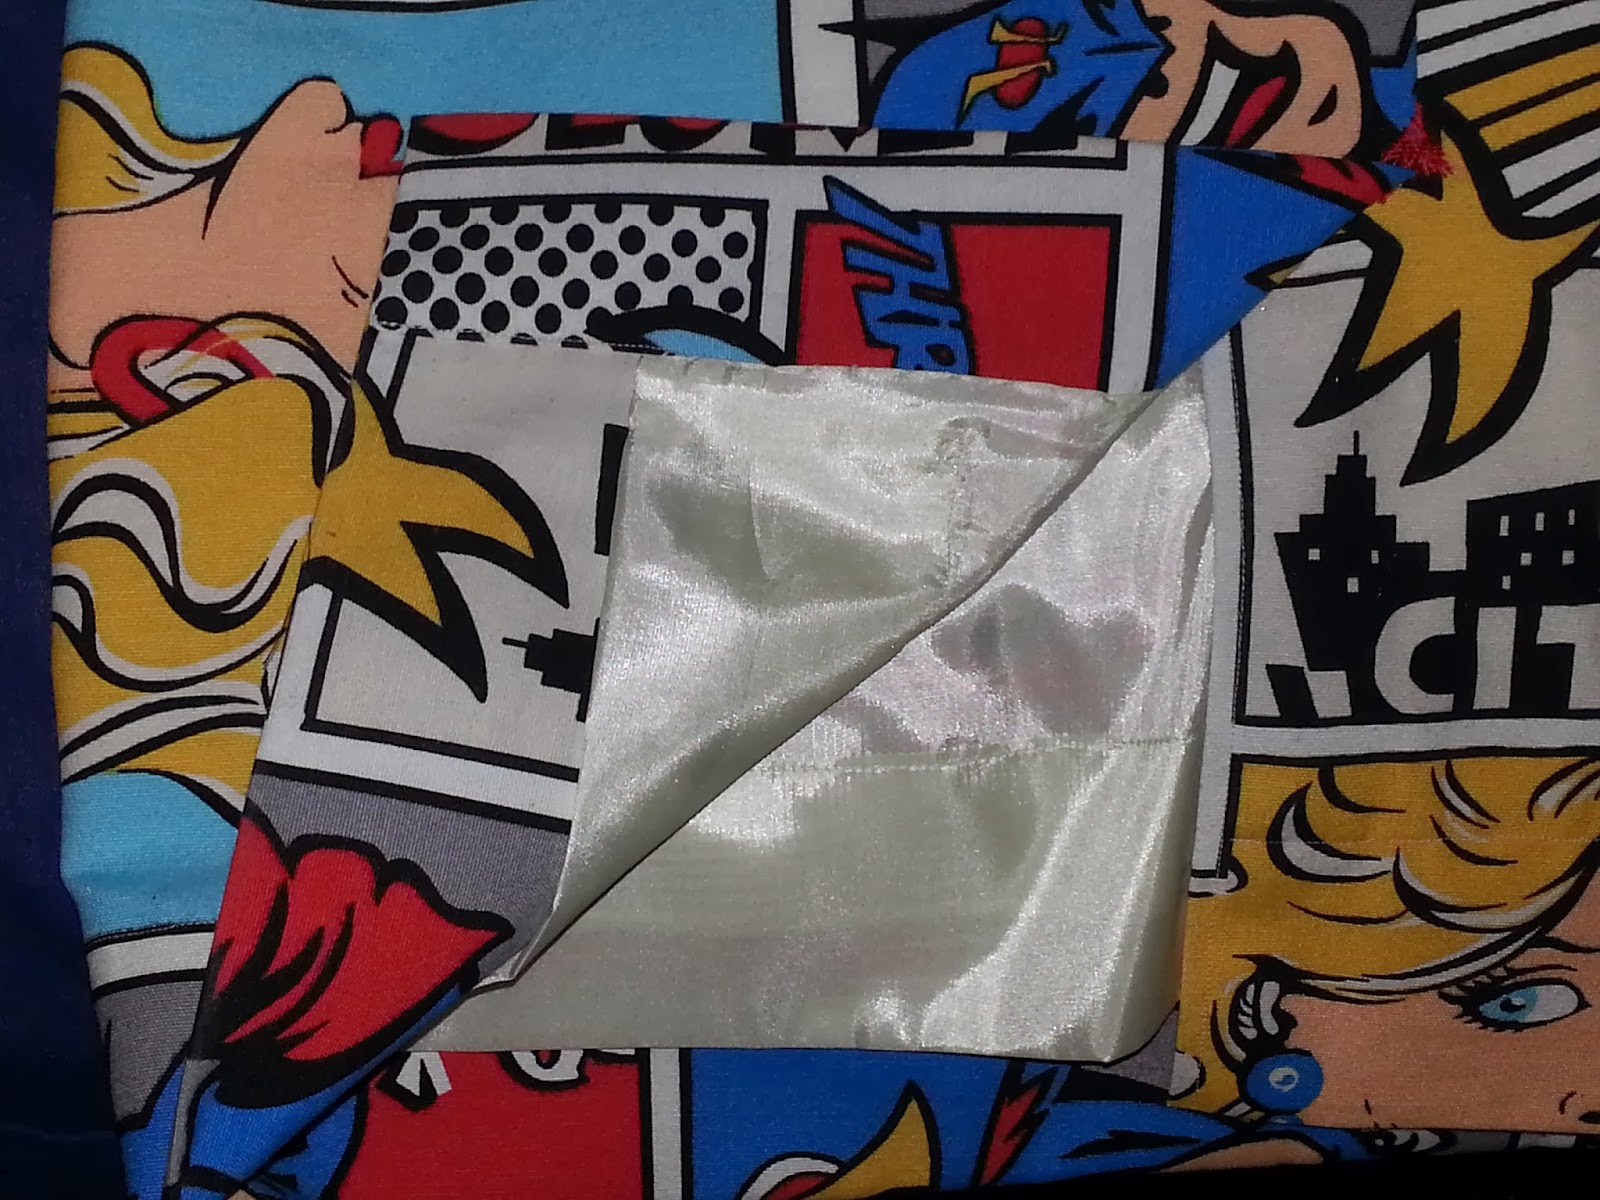
I've had this fantastic fabric burning a hole in my stash for some time, and the other night I finally got round doing something with it. It was a very generous gift from my friend Catherine, who spotted it in a window in a fabric shop in Bath (I think...):


I'd toyed with the idea of a full skirt, but I thought it would obscure the print, then I thought maybe a jacket, but I knew I'd hardly ever wear it. I settled on a pencil skirt. Here it is:


I used Sew Vera Venus' skirt drafting tutorial, which is really easy to follow - go check it out! And in order not to interrupt that fab pattern, I overlapped the side seams and treated the top curve as a dart, so there was only one seam at the back:


I also added a lapped split at the back:


Note to self: be more careful when placing the patterns in the future so as to avoid phrases like 'Look at me!!' appearing in the middle of your bottom.

The top of the split is finished off with a red arrowhead:


I was so pleased with the way the exposed zip turned out on my Kwik Sew Jacket that I decided to use that technique again on the zip for this skirt to show off the red zip I used:


And to finish it all, I added a light poly lining attached at the waist and hand sewn around the split:


Now I just have to find a suitable event to wear this skirt to - maybe cocktails with the Spoolettes?


See you soon!

Saturday, 15 February 2014

The Vintage Pattern Pledge - Simplicity 9330, 1971

When I saw Marie's Vintage Pattern Pledge, I was happy to see a challenge that I could get on board with. No real rules or deadlines, just make up 5 vintage patterns this year. Easy! I sort of already do this anyway. Here's my first contribution, Simplicity 9330 from 1971:


I used a lovely polyester (I think...) crepe which I had in my stash, purchased in the summer while on a trip to Walthamstow with Amy from SewAmySew . I used it previously as a lining in my By Hand London Victoria Blazer:


The dress is a simple shift with bust and waist darts for shaping, and a simple neck tie which threads through a little loop to create a bow:


The fabric is pretty lightweight, and a bit see-through on its own, so I lined it with a pink poly lining fabric:


This dress went together quickly and fits pretty well. The only thing that bothers me is the facing, which insists on curling out now and then, despite under stitching - you can see this happening a little in the picture above. But this is a minor thing - I'll probably just put a couple of tacks in to stop it happening.

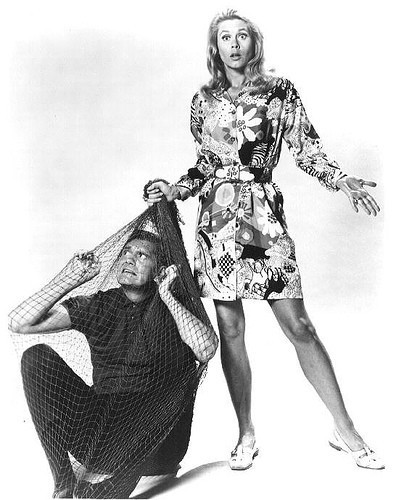
I've been calling this my 'Bewitched Dress' because it has that groovy housewife vibe, like something Elizabeth Montgomery would have worn in the 1960's series:


Elizabeth Montgomery as Samantha in 'Bewitched'

If I was a full-time homemaker, I would dress like this as often as I could!


And to add to the 70's look, I teamed the dress with my new Orla Kiely for Clarks platforms:


They are my new favourite shoes - I want to wear them with everything! 


And so there's the first of my Vintage Pattern pledges done - that was easy! See you soon!

Thursday, 13 February 2014

Minerva Bloggers Network - Manly Trousers

Whew! It's already time for my 4th Minerva project - that went fast! This time I decided to tackle trousers. I love wide, tailored 1940's-style trousers with a masculine look. View C from this Vogue pattern fit the bill:

Vogue 8836

I used a light weight navy suiting, with some matching navy poly lining and came up with this:


These are possibly the widest trousers I've ever worn - you have to be careful not to get tangled up in them when you walk. But they feel very glamorous and are surprisingly comfortable.


Some details:

There  are 2 generous pleats either side of the waist, which drape over the stomach, and 2 pockets:

Pocket and pleat detail
 There are 2 false pockets on the back - just flaps sewn directly onto the trousers. Sometimes I love the little details on a project most of all; these little flaps make me smile every time I look at them:


 In the photo above you also get a little glimpse of the belt loops.

Carrying on with the masculine theme of the trousers, I used a metal zip for the fly front. Here is where I slightly deviated from the instructions and added a panel behind the zip. This extra step isn't in the instructions, but all the trousers and jeans I've ever owned have this - seems a bit strange that Vogue would leave it out...

Fly front, with extra panel behind zip


I also added a half lining to the back section of the trousers, to give the fabric some support and also to prevent any transparency issues:
 

Half-lining at back of trousers

 I'm loving wearing these trousers, and would recommend this pattern to anyone looking for an alternative to the all pervasive skinny jean. And they were really quick and easy to make - they only took a few evenings to complete. All of the draping on the front makes them easy to fit  - I'm about a size 29" waist and a 38" hip, so I cut the size 14 (28" waist) and it fits just fine.


And that's that! If you like the look of these trousers, click here to buy your own kit. And click here to see all the other Bloggers projects.


Take care!

Sunday, 2 February 2014

Valentines is Coming - Lavish Some Love on Your Machine

I do all of my sewing on an Elna 2003, which I purchased in a hurry from John Lewis about 6 years ago:


 After snooping around on-line, I was surprised to find it seems to have a terrible reputation. After a bit of searching, it transpires that it was made while the Elna company was between ownership and therefore was cobbled together from Janome and Husqvarna parts. I seem to be one of the few who's been happy with it. It does basic stitches well, the buttonhole is pretty reliable and it generally does everything I need.

This was a replacement for a 1960's Frister and Rossmann Cub, which was super cute but far too small for the amount of sewing I did on it. It's now living with my sister who uses it for repairs now and again:

(source)
Everything was going fine with the Elna until recently when the light bulb blew. I replaced it but the light still didn't come on, which was frustrating as I had a few projects that needed to be finished. It doesn't matter how many strategic lights you place around your machine, it's very, VERY hard to sew without the in-built light.

I remembered that I'd had a repair done to the Cub a long time ago at a little shop in Camden Town, so off I went with my Elna to see what could be done.

Chapman Sewing Machines is a gem of a shop which I'd recommend to any home sewer in the London area. My parents have always been self-employed, and therefore I always go out of my way to support small businesses wherever I can, but judging by the busy atmosphere in Chapman's they're doing just fine. The shop has been open since 1937, and is still run by Cyril Chapman who was in on the day I dropped off my machine:

Cyril Chapman, 87 years young!
He took my details, wrote them on a little parcel label which was attached to my machine, and let me know I'd receive a call in a few days with details of the price, etc. That's exactly what happened - I got a call letting me know the light was fine, I just wasn't using the right size (doh!). They recommended it also needed a general service as it was a bit noisy. All of this would cost me £58, and I'd have a 2 year guarantee covering any further repairs.

About a week later, I had my machine back and its great! I never realized it was so noisy - now you can hardly hear it! The feeds were a little sluggish, but that's all sorted - it needed a good clean but I couldn't get the plate unscrewed, but they managed to open it up and now I can access it for future cleaning. Best of all there's a light!

It feels like I have a new machine - I can't believe I left it so long. That definitely won't be happening again! And I'll definitely be going to Chapman's for any future sewing needs. I'm off and sewing like mad - expect some finished projects soon!